Trials and Tribulations: the Pi edition
Making my Pi

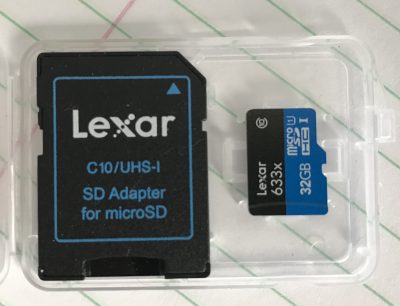
A Pi is just a tiny board in a box. At minimum you also need a power supply and a micro SD card to make it go. Better yet you should have a case, at least some heat sinks and maybe a fan. You will also need a HDMI -> mini HDMI cable if you plan on using a monitor and of course a usb keyboard and mouse. Above is everything I got in my kit (except the power supply which I forgot to include in the pic).
Assembly is pretty easy. Screw the board to the case; screw the fan to the lid; stick the heat sinks on using the self-adhesive pads; plug in the fan to the indicated pins and screw the case together. The only issue was a quick google said the 5v fan was a bit noisy and could be made a bit quieter by setting it up as a 3v fan. That meant figuring out which pins on the I/O board to use—which wasn’t much of a chore.
Flashing
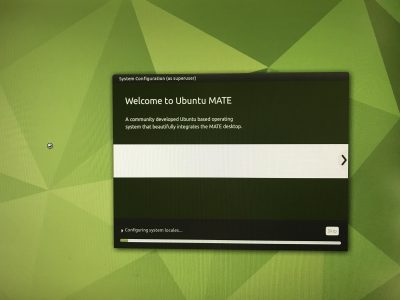
Then you need to download an OS. I chose to go with Ubuntu MATE rather than the traditional Rasbian OS. Simply go to ubuntu-mate.org/download/arm64/ and download the iso file. At this point in time you can choose between 20.04.2 LTS or 20.10. What this means is the LTS (long term support) version is going to be supported at least until April 2023, so if you don’t want to be bothered with updating — you are good for a couple of years. The 20.10 version will need to be updated regularly to ensure everything is secure (actually when I did my download it stated it was only supported to July 2021).
Then you need the Pi Imager software which you can download for your working OS (I chose macOS) as I was working off my Macbook.
After that, insert your SD card in your computer (my Macbook has a regular SD card reader and I have adapters.)
Select the downloaded iso file, select the destination as the SD card and hit “write.” It will completely rewrite the disk so don’t leave anything you need on it. It takes ~5 minutes to write and verify a 32 gig disk.

When it’s done, pull out the micro SD, insert it into the slot on the Pi and power up the Pi (assuming you have already attached a keyboard, mouse and monitor via the micro HDMI port). For convenience you might also attach a network cable but it will ask to setup your wifi if not.
Boot
The boot screen will ask for your language preferences, user name and password, wifi setup if necessary and that’s pretty much it. You will presently have powerful little computer all ready to go, with pre-installed Libre Office, Firefox and more.
The thing that will take the most time is updating all the packages (software) once you are setup — something highly recommended. It might take up to 10 minutes or so to get everything current, especially if you opt to update to the new 21.04 release. And voila! C’est tout.
Advanced Setup and My Beefs
Of course that’s not really everything. I wanted to setup up a few extra things.
- VNC so I could remote into the Pi desktop without a keyboard or mouse,
- ssh so I could remote in via terminal,
- Barrier, a software KVM (keyboard/video/mouse) so I could share my keyboard between my Mac and the Pi without having to unplug it every time,
- Samba to share files,
- a web server,
- my NGINX Reverse Proxy,
- and backup images of my disk(s).
About half-way through I, as previously mentioned, decided to abandon MATE and go for a pure Ubuntu server install with no graphical desktop. I did get the first three items done on the MATE install so I went ahead and kept that SD card and started fresh on a new one.
One of the beauties of a linux system is I can have an infinite number of setups and just choose the appropriate SD card (or burn one from a stored image) and be up and running again in minutes no matter how badly I screw something up.
VNC and auto start
Three things made me abandon the MATE setup.
1) Ultimately I wasn’t going to need or use it,
2) Getting VNC to start on bootup was a pain and if I wanted to have this Pi in a different location I needed that,
3) Shaw’s modem was causing me conniption fits and I had to do a reinstall anyway. More on that later.
I tried two or three VNC clients and they all worked in some way, but I could get none of them to start up when the computer booted. Issues like this are the reason why an OS like linux is not for everyone. On Windows or OSX it either works or it doesn’t. On Linux, it should. Maybe. If you can figure out the right way to approach the problem. Using commands you have no hope of understanding. Cue swearing.
I ended up using tightvnc but never really got a reliable boot up going before I moved on to different problems.
A Shaw Rant
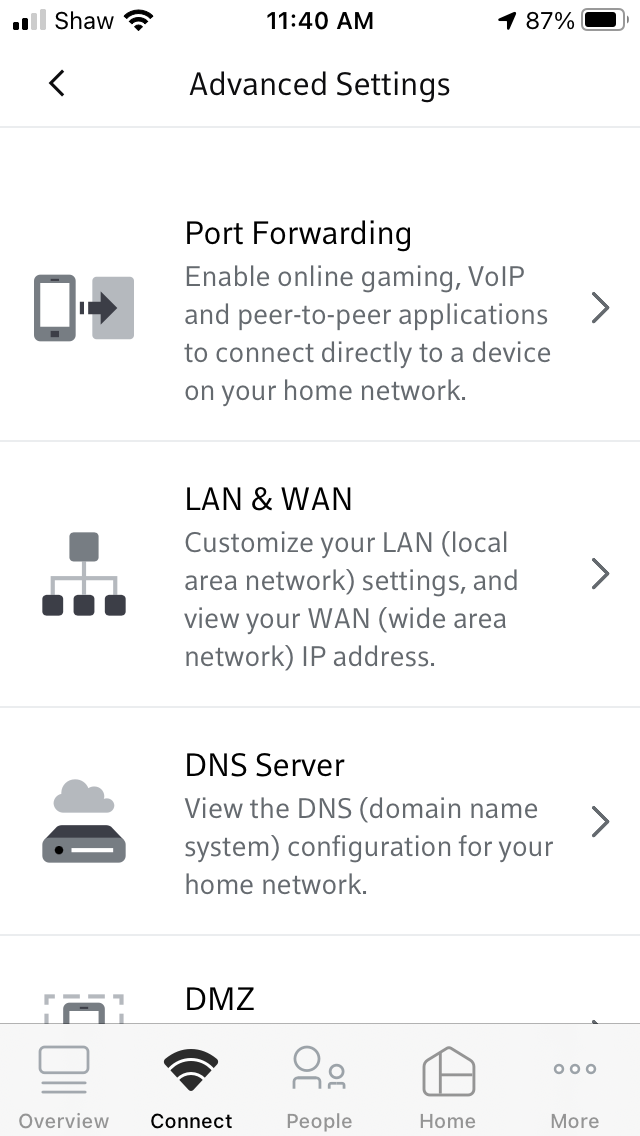
This is a bit out of order. I did install NGINX and get it running. But in order for it to work properly, I needed to forward the traffic from outside the modem to the IP of the Pi — which I had set at 192.168.1.4. Unfortunately when I first booted my Pi it had grabbed an arbitrary temporary IP of 192.168.150 which I new I was going to change. So later when I reassigned the Pi with the permanent .4 IP the $%^#& Shaw BlueCurve modem/router/wifi box refused to believe me. And since port forwarding was done not by IP, but by machine name, I needed it to reflect reality rather than its own personal prejudices. No matter how many times I set it up, rebooted things, renamed them and/or re-installed from scratch, it kept forwarding to the .150 address. Which. Didn’t. Work.

Eventually, after days of frustration, I waited until everyone had left the house and had to do a factory reset of the modem and then set it all back up again before it would forget that original “temporary” assignment. This time it grabbed the actual IP (which by this time was the Ubuntu server install with a different IP of 192.168.1.3) and I could forward traffic to the appropriate computer. Honest to god I have no idea why something so simple has to be so hard. This is the second time the asinine setup of the BlueCurve modem has caused me days of grief. Last time I broke the modem so bad they had to replace it. If I had the spare cash I would be tempted to just turn the Shaw modem into a plain modem and install my own router (like I used have using my old Apple router which sadly stopped working) so I could control my own network without having to resort to Shaw’s idiotic external website or an extra app to do something so basic (at least basic for a router, which after all is supposed to …well… route). But that of course comes with its own set of problems and probably would mean breaking it all over again.
Images
The last thing I wanted to touch on was disk images. After I got the Ubuntu MATE setup the way I wanted it and before I abandoned it, I popped the 32 gig SD card back in my Mac. After a lot of trial and error — and googling — I figure out if I used Terminal to run this command: sudo dd bs=1m if=/dev/rdisk2 of=/Users/admin/Desktop/piMATE.img then 379 seconds later ( around 6 and a half minutes) I would have a fully functional image of the disk on my desktop. At this point I could then use that image to burn the setup to another drive, including the 500gb harddrive I wanted to use instead of the SD card, or another SD card. It worked flawlessly. This the coolest part of the whole experiment.
dd speed
The dd command was a bit finicky. The first time I ran it I didn’t set the block size (bs=1m) and I didn’t use the rdisk command.
sudo if=/dev/disk2 of=/Users/admin/Desktop/pitest.img
As a result it took 8783 seconds (146+ minutes or 2.5 hours) to make the same 32gig image. As it is, when I did an image of the 500gig drive with the correct commands it still took 5461 seconds (1.5 hours). And I need to find drive with a spare 500gig to store the image on. My current project is to try and figure out how to shrink an image, as I know that the actual drive barely has 20gig of data on it —the rest is just blank space. Always something…
Ubuntu Server & Concluding…
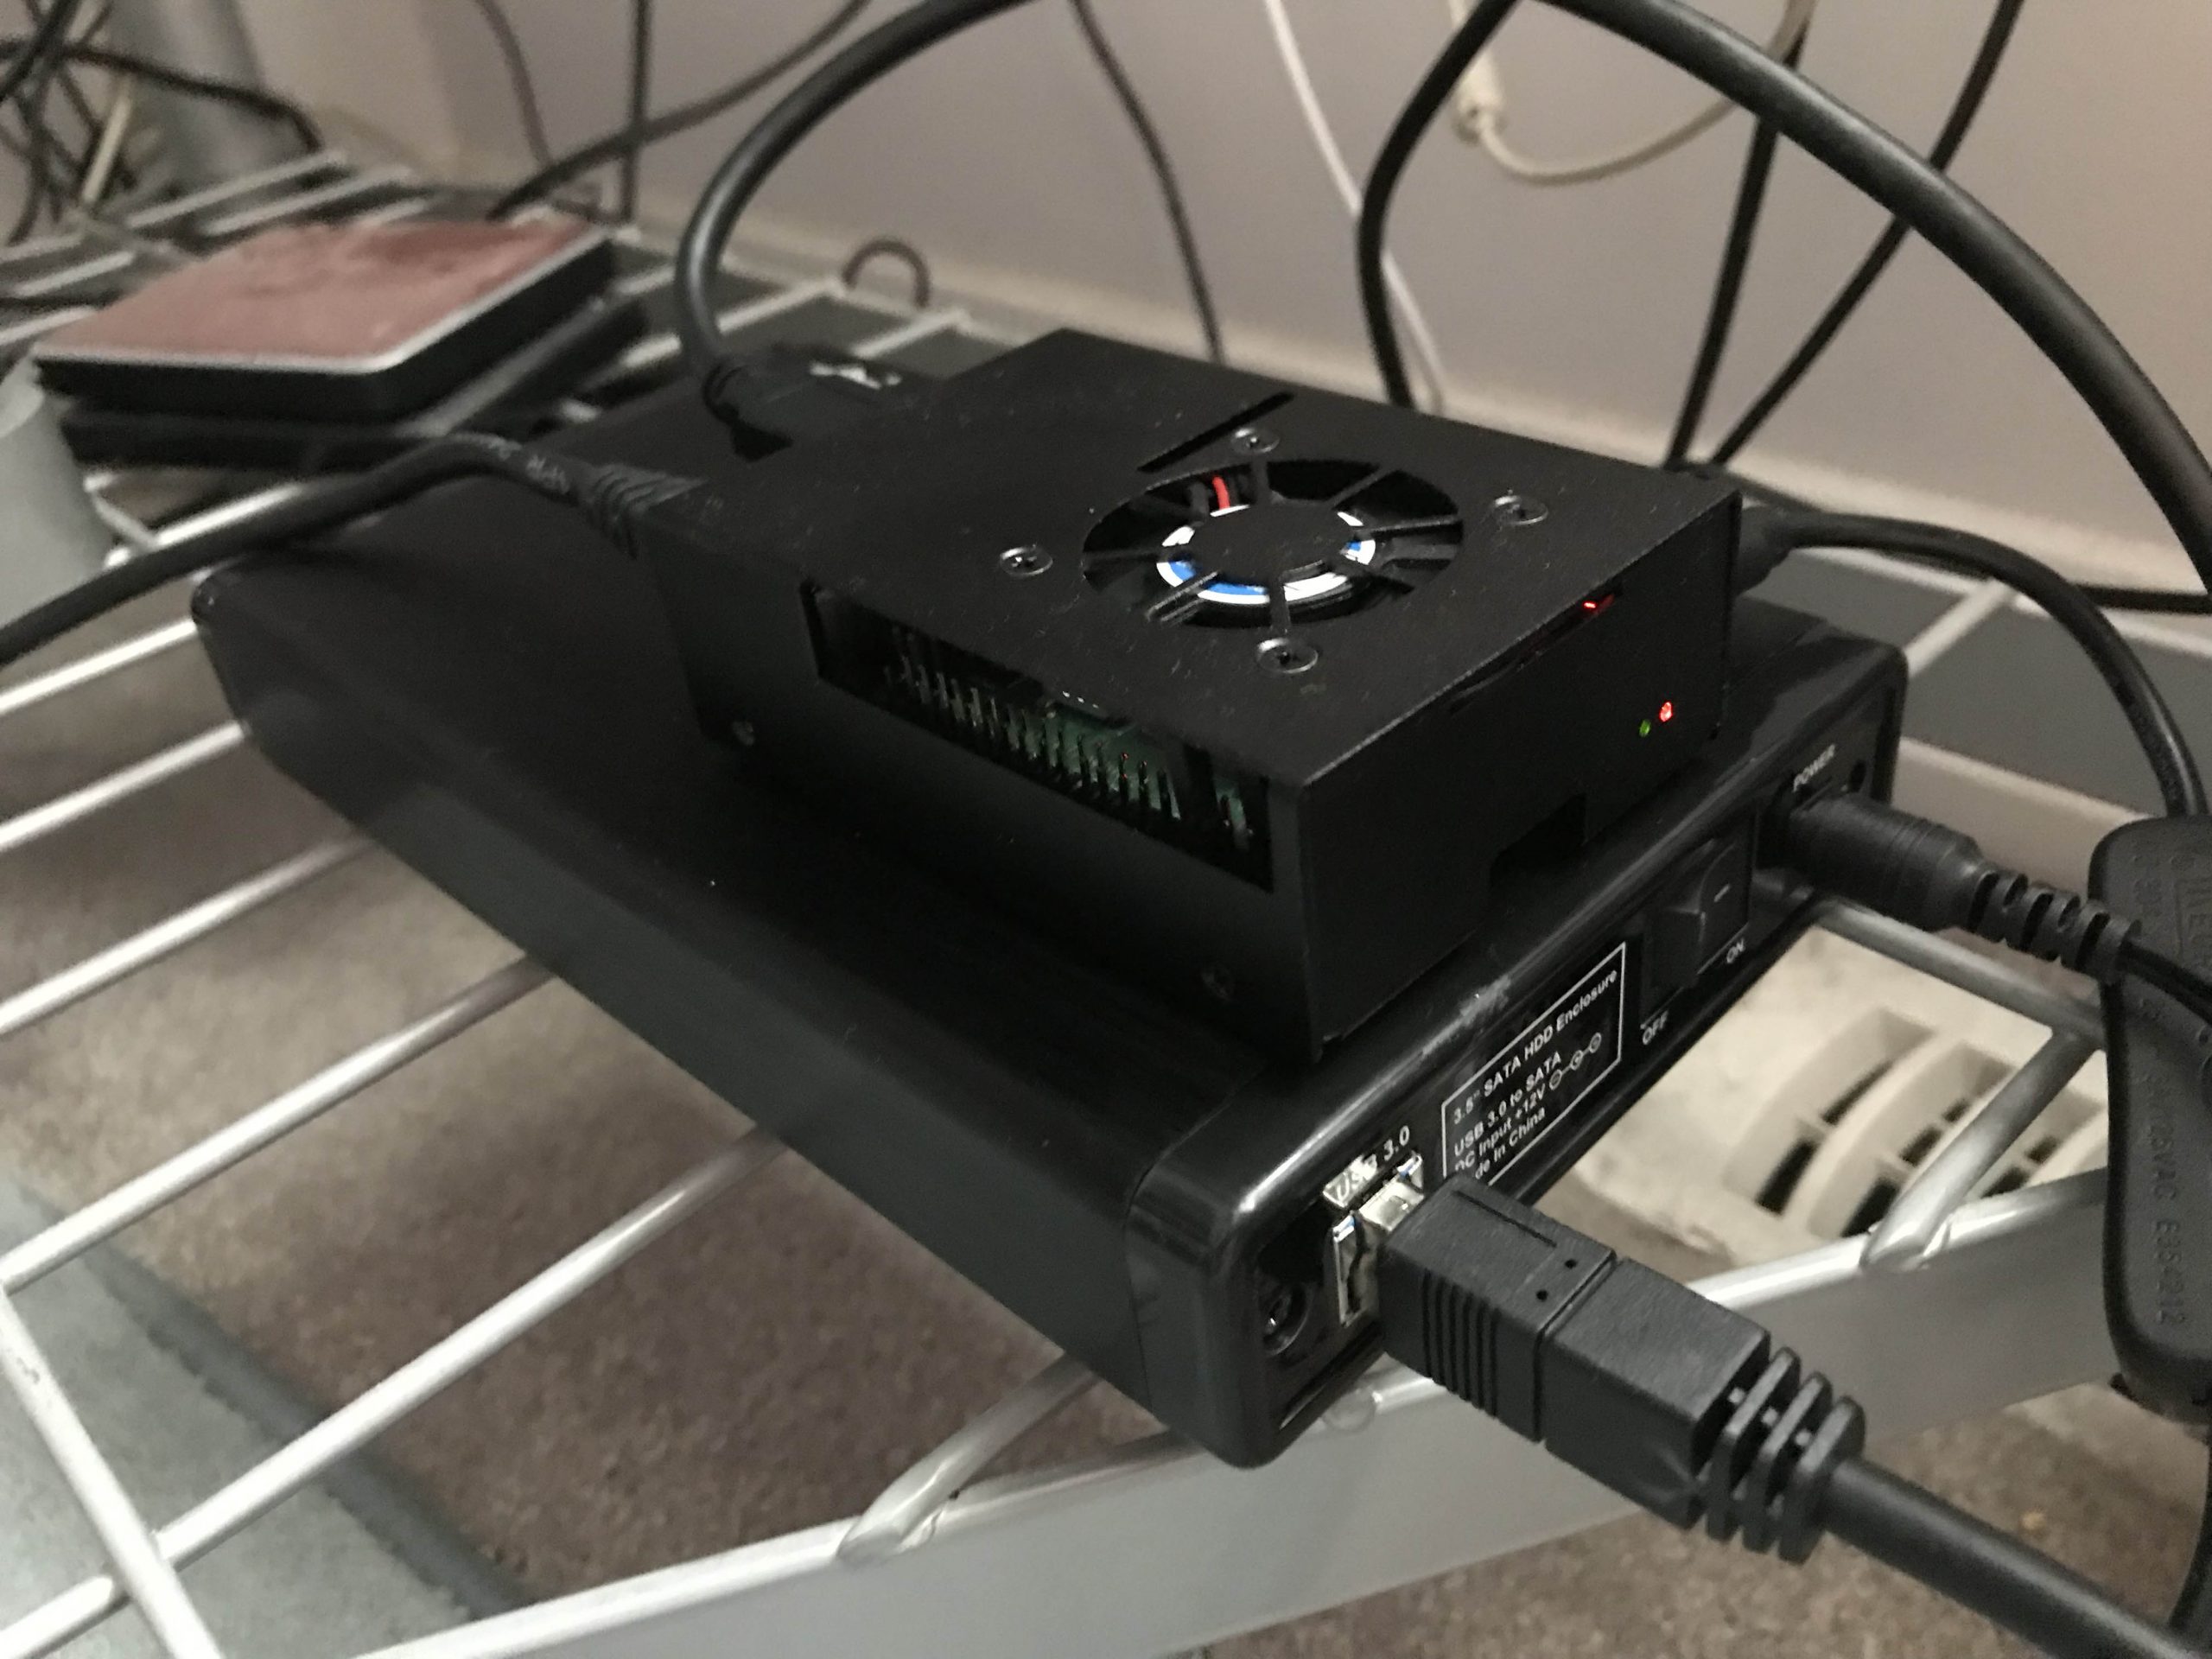
Below is my new toy with hard drive. As stated, I eventually installed Ubuntu server which has to be done completely by the command line interface, but by this time I was pretty comfortable with that. Everything else went pretty smoothly after so many fits and starts, and it now does everything I want it to including managing the internal web routes, serving two web development sites with php and mysql, and being used as an extra file server.
And, sadly, I delivered my old black PC to the computer recyclers. RIP old fellow.